Sunday 19 January 2014

Tropical Tank Top

It's been a very busy week with not a lot of time for sewing, however I did manage to finish my first version of the Grainline Studio Tiny Pocket Tank


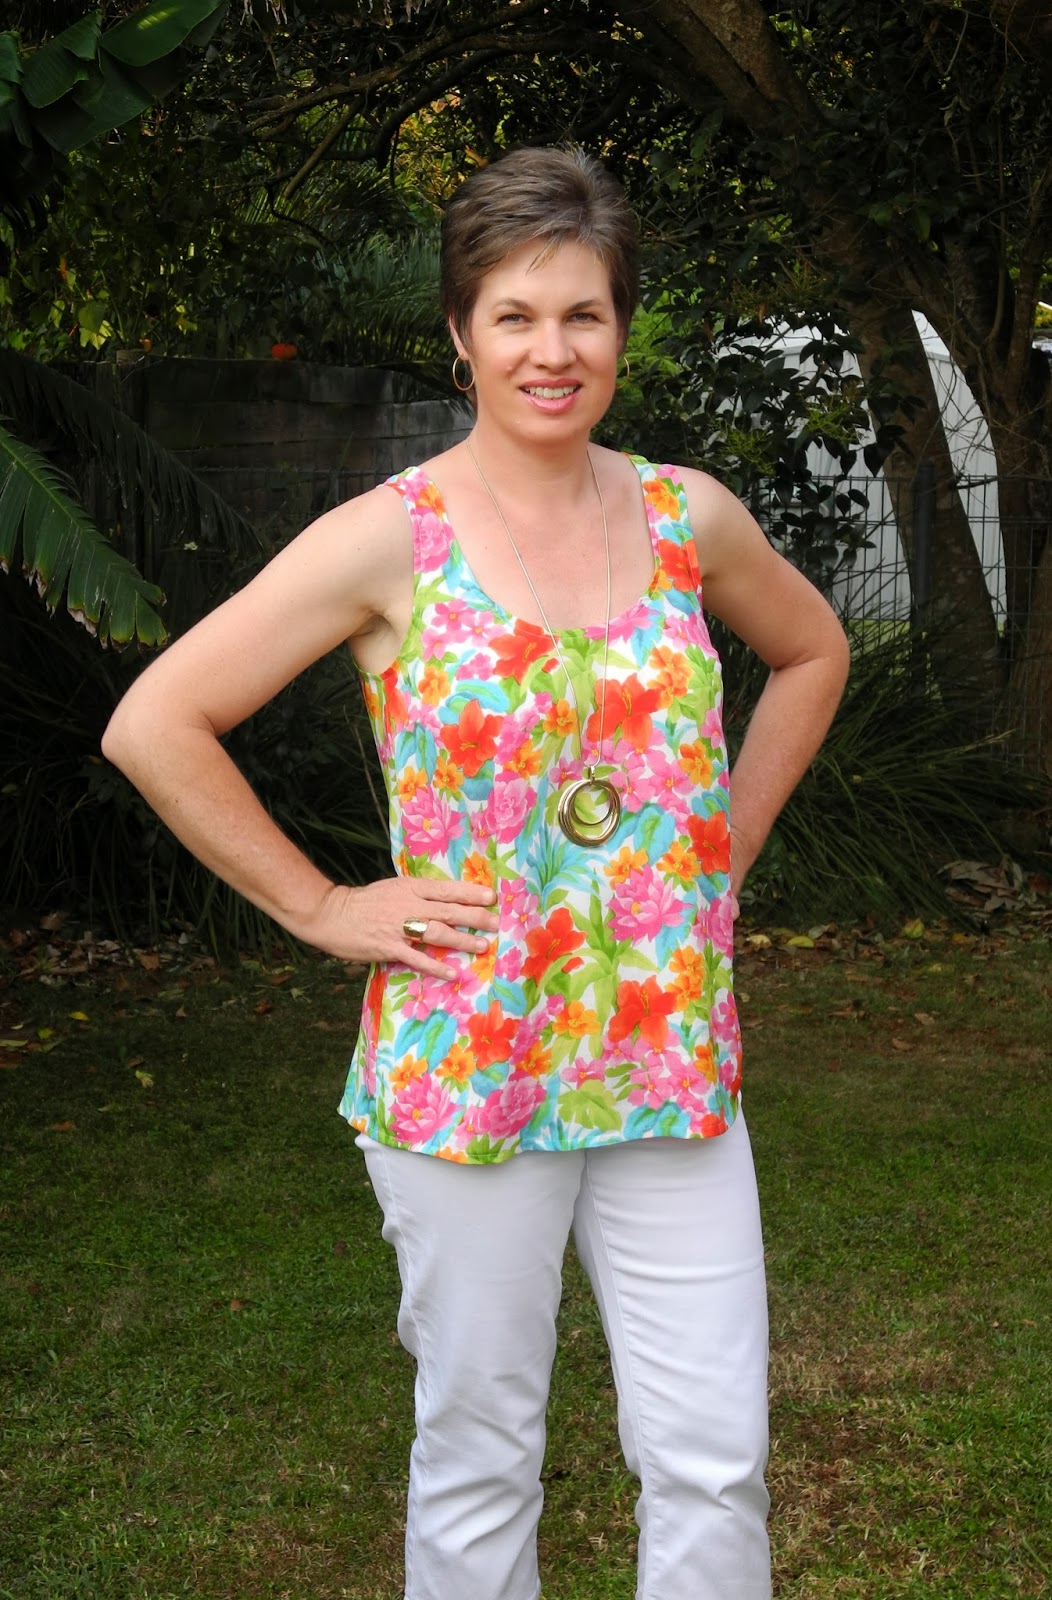
The fabric is a lovely tropical print spun rayon purchased from Spotlight. It has a lot of drape and was ideal for this loose summery top. I didn't add the pocket as I thought there was enough going on with this busy print.

I wanted a close fit through the neckline, shoulders and armholes, so I cut a size 8 (should be a size 12 according to my bust measurement) and did some adjustments. Using Sarah Veblen's The Complete Photo Guide to Perfect Fitting I did a Full Bust Adjustment (FBA) of 2.5cm. I also lengthened the top by 6cm as I wanted it to cover my behind and be a little more tunic like. I stay stitched the neckline and armholes as soon as possible to avoid stretching these areas. After the front and back were joined, at the shoulders and side seams I had a quick try on to check the fit. The underarms felt a little tight so I scooped out approximately 1 cm from the lower half of each arm hole.


I am quite pleased with the fit I achieved with my adjustments. I will try a few more tweaks for the next one.


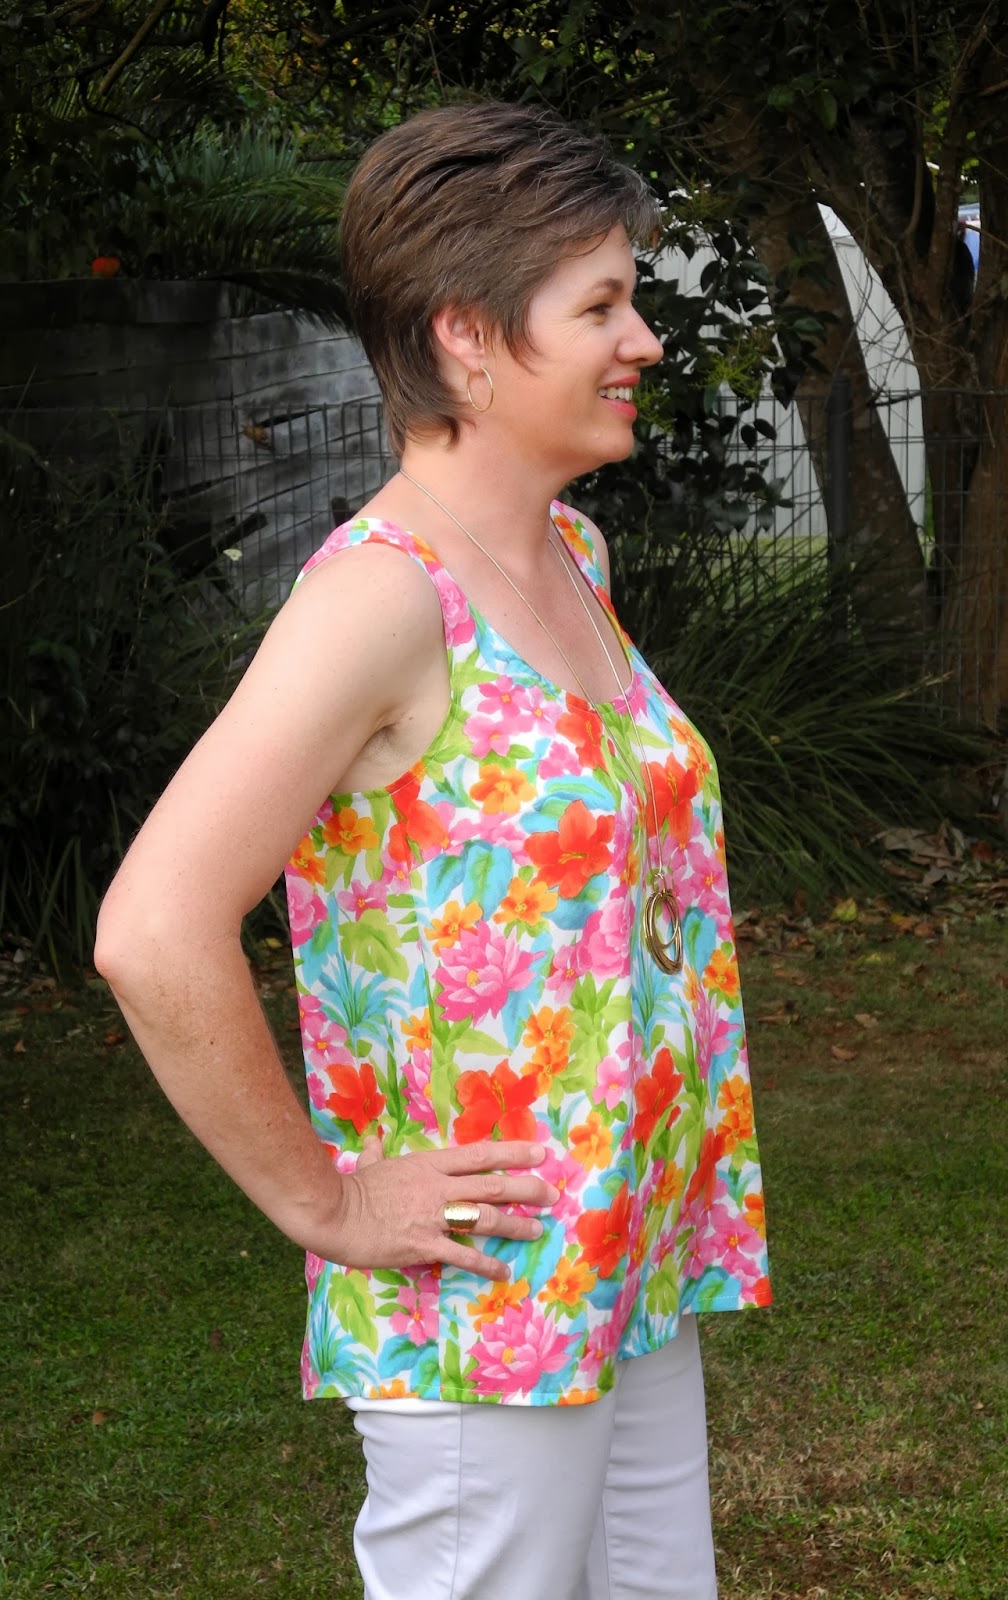
As you can see in the photo above, the bust dart is too high. For the next one I will try lowering it by a couple of cm. I would also like to try a shorter version with some side seam shaping so it doesn't hang so loosely.

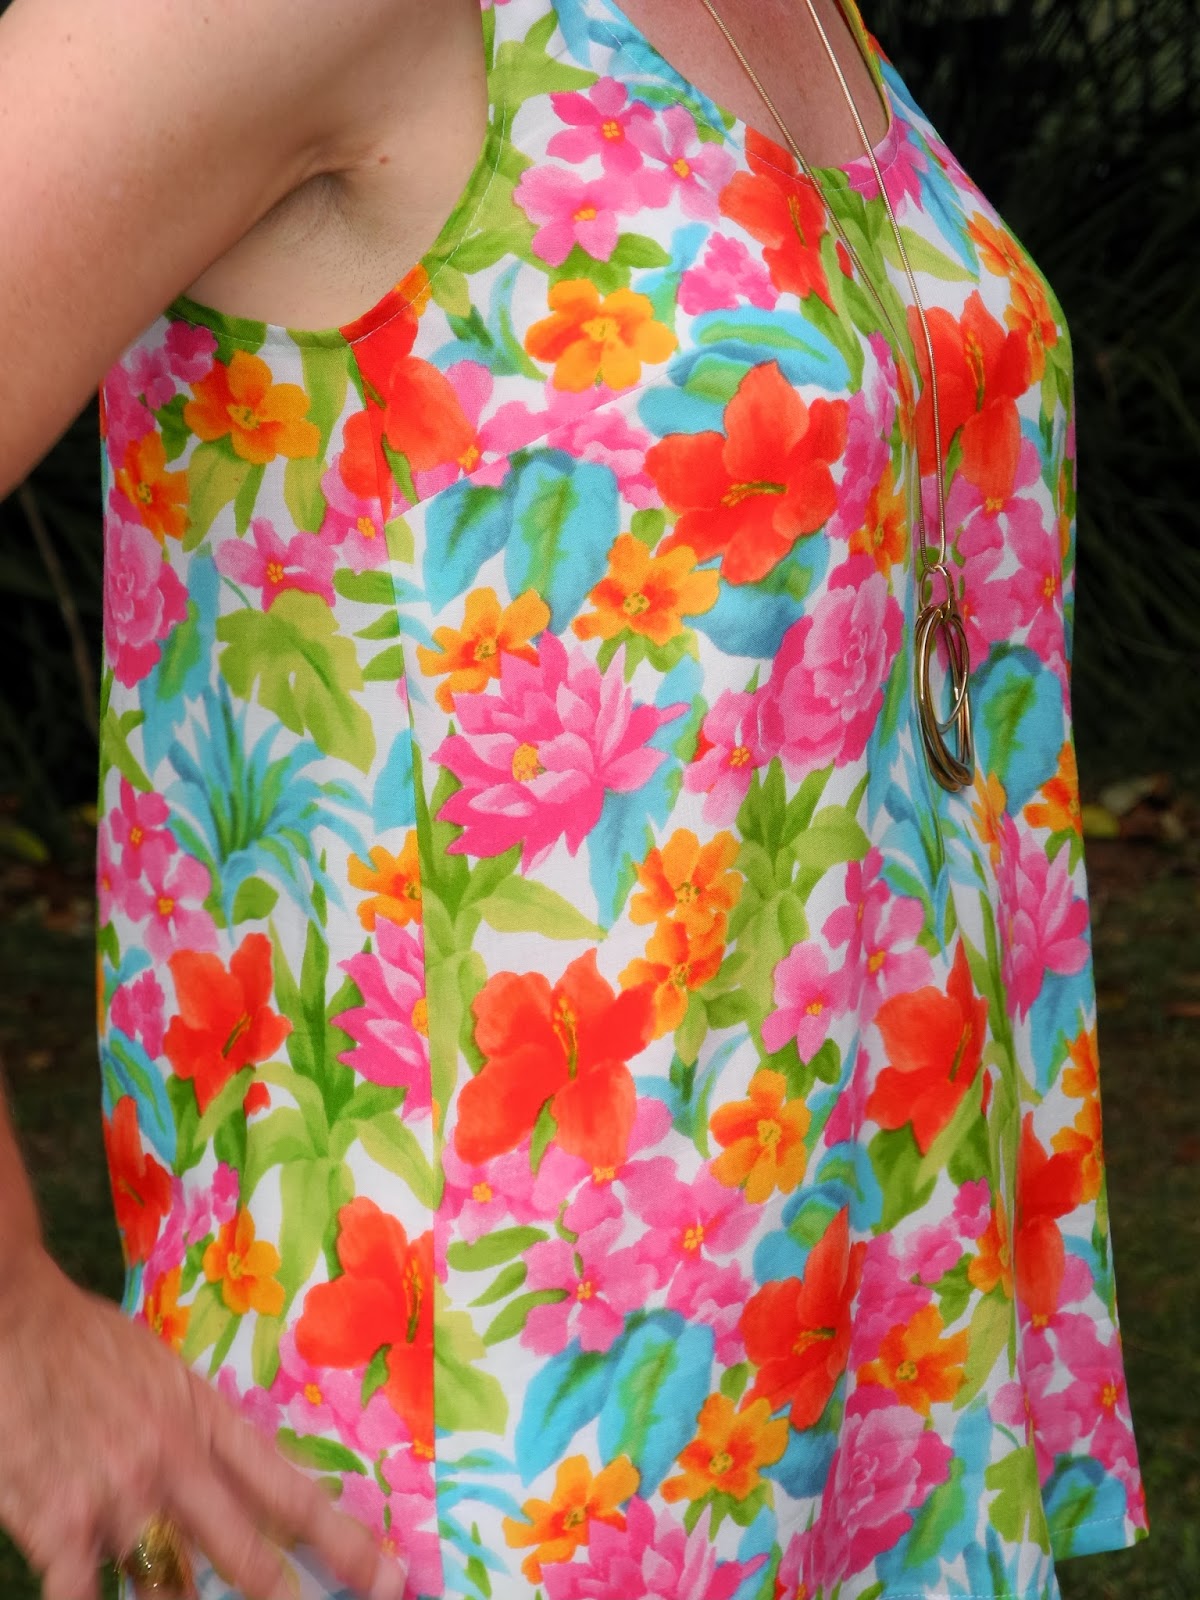
I used purchased lime green bias binding to bind the neckline and armholes. I didn't have enough fabric left over to make the binding. Although it was a bit stiff it did work out OK.


I'm really happy with the fit in the back as well. No gaping and great backside cover. I also like the slightly shaped hemline.


Perfect outfit for date night...dining al fresco at a lovely little restaurant by the river on a very warm summer evening.

Happy Sewing


Tuesday 14 January 2014

Sewing Christmas Gifts - Given and Received

I only managed to do a little Christmas Sewing this season: a couple of dresses for my gorgeous Granddaughters.


I used the Madeline Dress pattern by Wink Designs, previously blogged about here. The fabric was purchased online from Spotlight. It comes from the 'Lisette' USA Cotton Collection. I was very disappointed when the fabric arrived as the floral fabric was an almost sheer cotton lawn and the contrast green fabric was more like a quilting cotton. Spotlight failed to clarify this in their catalogue where the fabrics were described as if they were all the same 100% cotton. To overcome this, I lined the bodice and the skirt with white polycotton which brought out the colours much better. So despite the fabric issues, I was quite pleased with how the dresses turned out.

Bodice details
I bought the cute little flower shaped buttons on another trip to Spotlight. I cut the blue dress at size 3 bodice with the skirt length at size 4, and the pink dress was size 1 with size 2 length for the skirt. 

The girls wore their new dresses on an outing to the animal farm last weekend, and my son took lots of photos. Here is a collage of them all.

Such little cuties.
I was also spoilt at Christmas with lots of new sewing related gifts. I had dropped lots of hints and this is what I got:


More Fabric Savvy by Sandra Betzina which has loads of info about all sorts of different fabrics and will be a very useful resource; A sleeve Board and a Point Presser and Tailor's Clapper which came from Judis Studio here in Australia; 110 Creations A Sewists Notebook which will be a great help in planning my sewing projects. A $50 Gift Voucher for Style Arc Patterns which came with the free pattern for December - the Lu Lu Tunic; Three Craftsy Classes - Sew Better Sew Faster Garment Industry Secrets40 Techniques Every Sewer Should Know, and Underneath It All. Lots of learning to do here; and some professional quality dressmaking scissors KAI 7250. The scissors are really high quality and are very luxurious to use. These have been hidden deep in my sewing desk, away from the reaches of other household members. I have scattered several decoys around...all useless for cutting fabric.

Thanks to my wonderful family, I have lots of new sewing resources and equipment that will be sure to improve my sewing skills. Looking forward to a great sewing year ahead.

Happy Sewing

Wednesday 8 January 2014

Trying Out The Moss Mini

I have noticed quite a few Grainline Studio Moss Mini's popping up on Pattern Review and lots of sewing blogs lately. As usual, I am a bit late to the party, but still keen to give it a go. Here is my version of View B: with the hem band.


I am wearing it with my Grainline Studio Archer Shirt previously blogged about here. I don't normally wear shirts tucked in or finishing at my waist as I like to hide my thickening waistline, but I thought I had better show off the details of the skirt properly.


Most unflattering photo, sorry.
I made a size 12 with no alterations. This was based on my waist measurement when I am at my ideal weight (which is considerably less than what it is now). This pattern must run large because to my surprise it fits me quite well.


I am really happy with the length. Not too short at all. I used a cotton drill purchased from Spotlight. This was probably a bit lightweight for this skirt. I have some denim and some cotton canvas that I will use for future versions.


Pockets


Back yoke wrinkles.

For future versions I may remove a wedge from the top of the back yoke. There seems to be excess fabric bunching up here.

I had a big problem with the waistband length. It was about 5cm too short for the waistline of the skirt. I rechecked the pattern to make sure I had traced off the size 12, and I had. I don't know if this is an error with the pattern or I may have stretched out the waistline during construction. I would be very interested to know if anyone else has had this problem? In order to fix this I ran a couple of rows of gathering stitches around the top of the skirt and gathered it up to fit the waistband. This is only slightly noticeable, but I found it very annoying. At least I didn't throw it in the corner in disgust.


Fly front and Snap (press stud)

This was my first fly front ever. I found the instructions quite good, although I had to do a fair bit of unpicking and resewing to get the zip in exactly the right position. I think I could do this a lot neater next time (now I know what I am doing).


Back Yoke and Top Stitching.

Funny how that excess fabric has disappeared when the skirt is on my dress form and not on me. I could have done a better job matching the yoke at the centre back seam.


Top stitching on Hem Band

I love the hem band. I have seen versions without the hem band, that have been lengthened, and they just don't look as nice. I think it is a really nice design feature and well worth the extra effort.


Side seam showing pocket .

The pocket is designed so it is easy to put your hand in but does not gape excessively. A very nice feature. I finished off the raw edges with my overlocker with purple thread. This was the closest matching colour I had. I am slowly building up a variety of colours for my overlocker, but it is a slow process.


Pocket linings and hem band facing.

The pocket lining and hem band facings are one of my favourite features of this skirt. It's almost a shame they are not visible from the outside.


Inside details including fly.

In conclusion, I enjoyed the process of making this skirt and learn't some new skills along the way. I got a pleasant surprise at the end to find out that it fits me too (when it really shouldn't). Must remember to downsize the next one as I have started my diet healthy eating and get fit campaign. Wish me luck and lots of will power.


Happy sewing

Sunday 5 January 2014

A Shapely Scout Tee


During my Christmas holidays I managed to get a little sewing done. 


Second attempt at Scout Tee

I have been keen to try Grainline Studio's Scout Tee after my last attempt was less than pleasing. I had made a size 12 and graded down to a size 8 at the hip based on my measurements and the Grainline size chart, but it turned out very roomy and boxy. It is OK tucked in but looks awful left out.

First attempt at Scout Tee

For my second attempt, I started with size 10. I added a lot of shaping to the sides. I kept the side measurements the same at the base of the armhole and at the hem. I curved the side seams in by 3cm at my narrowest point (near the lengthen/shorten line), on each side seam (both front and back pattern pieces), using my french curve ruler to get a nice smooth curve.

Size 10 with side shaping.

I also lengthened the Scout by 2cm. I think I will lengthen it even more for the next one. I must have a long torso.

Back view

Side view

It hangs a bit weird at the front hemline. I'm hoping that lengthening it further will fix this issue. I love the fit at the neck and shoulders. It's just amazing that it fits so well in a woven fabric with no darts. I picked up this fabric on sale at Spotlight quite a while ago. It is very light and drapes well, but creases terribly. Not sure of the composition, but I suspect it is a rayon. I love the bright cheerful print.

Neckline finished with self bias binding.

I even made my own bias binding using my Clover bias tape maker. I think it turned out ok, considering this is a new technique for me.

I have a few tropical print rayons sitting in my stash just waiting to be turned into Scout tees, now that I have worked out the fit, (or maybe Tiny Pocket Tanks).


Happy Sewing

Wednesday 1 January 2014

The Christmas Shirt (aka McCalls 6044 take 2)

I made my dear partner another shirt, this one for Christmas. I used McCalls 6044 as previously blogged about in The Birthday Shirt. I used all the previous alterations to the pattern, but in addition to those I also lengthened the sleeves by 6cm.


Sleeves actually fit those long arms this time.
This is a lovely soft 100% cotton shirting purchased from Spotlight. I actually used the wrong side of the fabric as the right side because the blue lines were a little more subtle and just looked better.


Front


Back


Pockets and Pearl Snaps
I cut the pockets on the bias to add some visual interest. This made them a little tricky to sew. I had to be very careful not to stretch the fabric and distort the pocket shape. I'm pretty pleased with how they turned out. 


Back yoke also cut on the bias.

All the seams have been flat felled. I love this technique in a man's shirt. It's really not that hard to do and results in such a lovely neat finish, inside and out.


Tower Placket
As in The Birthday Shirt I replaced the continuous placket with a tower placket, but I lengthened this one to make rolling the sleeves up a little easier. I cut the tower placket on the bias and to avoid distorting the fabric, I fused a very lightweight interfacing to it. This worked beautifully and I was very pleased with the result. It hardly added any stiffness to the placket so it hasn't effected function at all.


Close up of shirt details
Instead of buttons, I used pearl snaps (press studs), a request from my partner. These came from snapsource.com and I applied them with my Snap Setter tool also purchased from the same supplier. I can't recommend this company enough. The snaps are really good quality and the Snapsetter Tool is very easy to use. Tip: don't attempt to apply snaps after 10pm or you may experience some abuse heated discussion from other members of your household. I speak from experience.


He's smiling...I think he likes it.

I have found sewing men's shirts very satisfying. It's fairly easy to achieve a good fit as they have less curves than women and they just turn out so well...just like a bought one, only better.

On a different note, I have joined Sarah from Goodbye Valentino in a Ready To Wear fast for 2014. That means I have given up buying Ready-to-Wear clothing from January 1 2014 – December 31, 2014 one year in favour of making my clothes. 


What constitutes a RTW fast? Refraining from buying ALL outerwear, dresses, tops, pants, shorts, sweaters, coats, exercise clothes, jeans and bathing suits. Shoes, socks and underwear are permitted :)


Happy Sewing