Monday 28 December 2015

Style Arc Esme Designer Knit Top


The Esme Designer Knit Top appealed to me the minute it was released. The relaxed fit and stylish design lines ticked all the boxes. I have been making the most of the Christmas Holidays by spending time in my sewing room over the last couple of days, much to my daughter's disgust. She just doesn't get the fact that I love to sew.


Style Arc suggest using ponte or scuba knit to make up this top. I have a lovely printed scuba knit ear marked for this pattern, but I decided to use this less precious rich purple delux ponte from Spotlight, to make a test garment.


I made one alteration to the pattern before I started, and that was to add 5cm to the length of the front and back pattern pieces. I added the length in just above the top of the side split. I am long in the body and I knew that I would not find the length flattering on my body, as drafted.


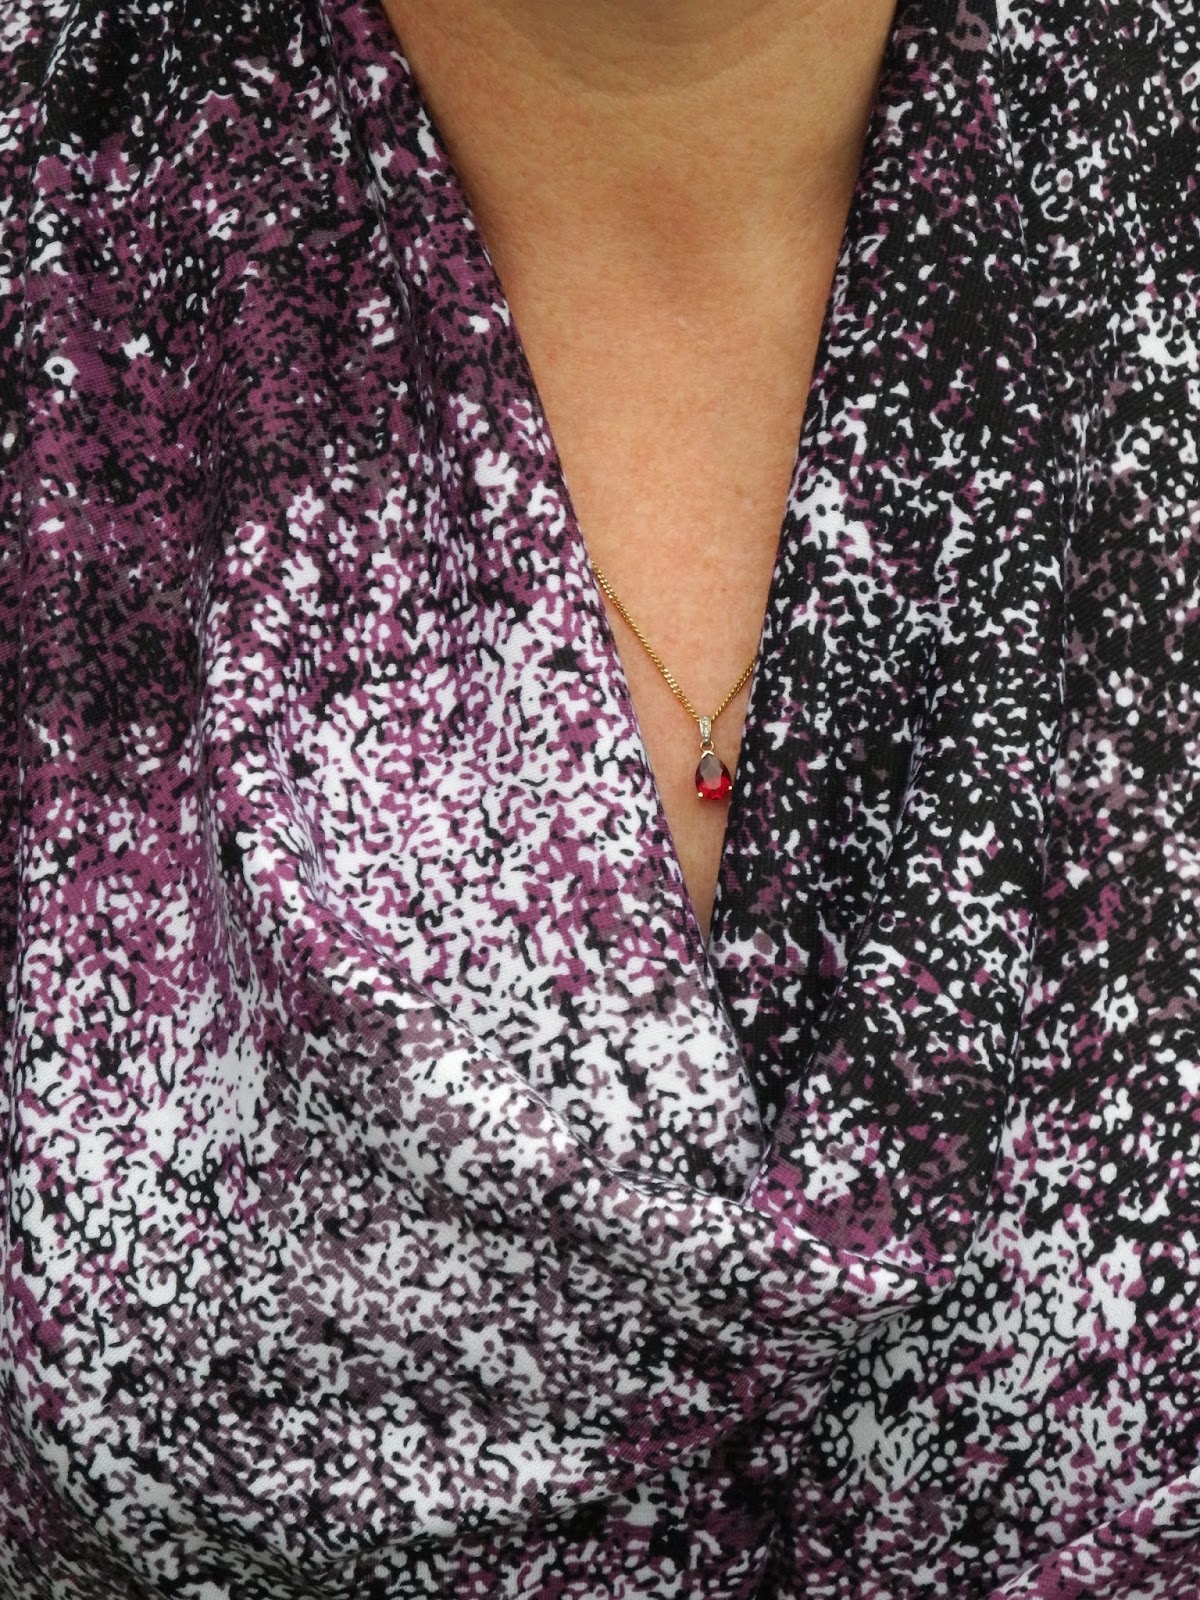
I am happy with the length after my alterations and the fit is ok as drafted. I made a size 12. I love how beautifully the collar sits at the neckline. I was a little dubious about cutting the collar on the bias in a knit, but this has created a lovely result so I am now sold on the idea. The collar only worked folded over. I couldn't make it stand nicely as illustrated on the pattern envelope.


The instructions suggest sewing the seams, pressing them open and then top stitching them down as a feature. I went with this suggestion and am very pleased with the beautiful neat finish this created. All raw edges were overlocked to create a neat edge, before the seams were sewn on the sewing machine.


The front and back hems, side slits, side seams and armhole edges, were top stitched with one continuous line. I did press and pin quite extensively before beginning the top stitching, but I am very pleased with how neat this turned out.


The back collar points turned out beautifully and this was quite easy to achieve. The instructions were clear and also provided diagrams for this step. This ponte was very well behaved and all the corners and points turned out so well. Not something I always have great success with.


The skirt was also made to wear with this top. I used the Colette Mabel Skirt pattern, combining the style of version 1 with the length and kick pleat of version 3. I have made the Mabel skirt twice before and am still working on the fit. This one is made from a scuba knit from Spotlight. I used the purple ponte to line the waistband. I have also inserted elastic into the waistband to make it feel more secure. 


The kick pleat is constructed in the usual way, as opposed to the Colette way of sewing it closed. I think it sits better open. There was enough delux purple ponte left over to make another Colette Mabel skirt, which can also be worn with the top to create a different look.


Now on to the next project...


Happy sewing

Saturday 19 December 2015

Style Arc Misty Stretch Pull-On Jean

Summer is here and I have found my wardrobe lacking in the casual pants department. I recently purchased the Style Arc Misty Stretch Pull-On Jean pattern and I had a 1 metre piece of stretch bengaline (also purchased from Style Arc several months ago with plans to make a skirt), marinating in the stash. I realised that this would be enough fabric to make a shortened version of the pants...perfect for the warmer weather.


This pattern appealed to me because of the "jean like" features included: front mock pockets, coin pocket, mock fly, back yoke and back pockets. Yet the comfort factor was retained with the elastic waist, and the ease of wear with the "pull on " style.

Style Arc Misty Stretch Pull-On Jean
I enjoyed sewing these pants in short bursts whenever I got a spare moment during the week. There are lots of little steps that fitted in well with short time sewing opportunities.


The fabric is a good quality stretch bengaline in a denim look colour, however it is much more light weight than stretch denim. It is quite stretchy and has excellent recovery. I made my usual Style Arc size 12 and these were cut and sewed with no fitting alterations.


The only alterations I made was to remove 30 cm from the hem line to create the 3/4 length. I also changed the method for attaching the elastic waistline. I had read that the exposed double layer of elastic was not so comfortable against the skin (and I couldn't buy any 3cm wide elastic), so I used the Style Arc Barb Pant waistband, which encases the elastic inside a waistband. This has worked very well and the pants are very comfortable.


I was very disappointed when I saw these photos of the back of the pants. I didn't realise there was so much wrinkling at the back. I have been trying to find out how to fix this issue but there doesn't seem to be any clear cut solutions. I think I need to add width to the back leg but I'm not entirely sure about how to do this. Should I add it to the in-seam, or the side seam, or both. Or should I cut and spread the pattern piece, adding width at the centre of the pattern piece? I welcome any suggestions or advice please.


I am happy with the pocket details. All the top stitching was done with a twin needle, as instructed. I just used a normal Gutermann poly thread in a pale grey and I am pleased with the result.


I was pretty pleased with my seam matching at the yoke considering I sewed this seam on the overlocker. Don't you love it when things work out well, when you are not really expecting them to.


Unfortunately, all the top stitching details will mostly be hidden because I will always wear these pants with a longer style top. Looking forward to your words of wisdom regarding my wrinkling issue so I can apply them to my next pair.


Happy Sewing

Sunday 13 December 2015

Style Arc Kate Dress... with some changes

I knew it wouldn't be long before I sewed the Style Arc Kate Dress again. My first version has become a firm favourite in my wardrobe and been worn at least once a week since completion.


My second version was made specifically to wear to my work Christmas Party which was being held at a fancy restaurant on the river front. I chose to stay with the 3/4 length sleeves as I knew we would be dining alfresco and it could be a little chilly on the water. There were a few changes made to the pattern for this version: I lowered the waist by 3cm and retained the extra length at the hemline. I also did away with the gathered front piece and just cut one pair from the left hand front.


This fabric was another poly/spandex knit purchased from Spotlight. It was quite lightweight and gave me a lot of grief during the sewing process. There was a lot of Bondaweb iron on adhesive used on all the hems to give  enough body for my twin needle stitching to lay flat. The print had some large darker areas and some large lighter areas and this proved a bit of a challenge to get the dark and light areas distributed evenly over the dress. I ended up with too much of the lighter area on the front, so I switched the overlap...problem fixed. You may have noticed that this version ties on the opposite side.


The neckline was lowered by 4cm at the back between the shoulder seams and then tapered to nothing at the waistline on the front. This gave the dress a more "party like" vibe as opposed to a "modest and work appropriate" vibe that the original pattern gives.


Self fabric binding was used to finish off the neckline. This time I didn't turn the binding to the inside. It gave a less bulky finish to leave the binding exposed and secure the seam allowance down with a twin needle. This gave a nice secure neckline with no gaping issues at all.


Very happy with my new party dress and I can report that I felt appropriately dressed, comfortable and feminine at my Christmas Work Party last night. I can assure you that I have not finished with this pattern yet. I have some short sleeved, work appropriate versions in the pipeline so stay tuned.

On a sad note, my Bernina 350PE died a very sudden and unexpected death, just as I was finishing this dress. There was a loud POP! and then ...nothing, no lights, no screen, no life.
It has been packed up and sent back to Bernina for repairs, hopefully covered under warranty. In the meantime, I have dug out my faithful old Bernina 1005 and dusted it off. Despite being totally neglected since the arrival of my new Bernina almost three years ago, it still sews like a dream. So the sewing will continue!


Happy Sewing

Monday 30 November 2015

Style Arc Mia Dress

Deviating from my last post about the very form fitting Marita Knit Dress, I have tried a new looser fitting design...the Style Arc Mia DressI liked the look of this design but I couldn't find very many versions of this pattern made up during my internet research so I wasn't sure how good the pattern would be.


Style Arc describe this pattern as "Simple but sophisticated, this dress has an elasticised waist for easy wear, extended shoulders and a fashionable front skirt over lay which falls beautifully. As an option the front skirt overlay can be deleted if a plain front dress is preferred, so easy make it in an afternoon."


Style Arc Mia Dress

This is another polyester spandex knit purchased from Spotlight during my recent fabric shopping trip. It has a lovely silky feel, and is very drapey...perfect for this style. I made the version with the front over lay which drapes beautifully. 


Husbands can be handy blog photographers, but they are not so good at being personal stylists. I asked several times if the dress was sitting properly etc, and in every photo the belt is not sitting on the waistline. Oh well...you get the general idea.

I do like the looser style, and it is comfortable and easy to wear. This is quite an easy pattern to sew but I managed to make it quite difficult due to some silly mistakes.


The front overlay is cleverly sandwiched in the side seam between the front and back skirt pieces (except when you sew up the wrong side seam first). This was such an annoying mistake, but I was not going to unpick an overlocked seam. I overcame this problem by pinning the overlay over the finished side seam and stitching in the ditch. This was painstakingly fiddly but it worked and it's not noticeable.


The front crossover bodice neckline has a facing and this produces a lovely clean finish. Although, I did have some trouble with the facing wanting to flip out despite under stitching. This may be due to the weighty drape of the fabric and I may go back and secure it down with some Bondaweb (iron on adhesive). The pattern does suggest adding a press stud at the centre front to reduce any gaping, as this is quite a loose fit. I chose to wear a cami under it instead. The back neckline is finished with a binding.


The shoulder seams are sewn together and then gathered by applying elastic to the seam allowance. I did use this method but I found it very fiddly and resulted in a messy finish on the inside. I think I might prefer the traditional method of using a gathering stitch. I did not use the sleeve bands, but turned the sleeve hems under and secured with a twin needle.


After joining the bodice to the skirt at the waistline, you overlock 6mm elastic to the seam allowance to gather the waist line. The narrowest elastic I had on hand was 12mm wide and after I overlocked it to the seam allowance I tried the dress on. It was huge! The elastic had stretched out terribly and the waistline hung on my hips. There was way too much fabric at the side seam between the armhole and the waistline. I thought it was ruined and it was nearly discarded in disgust. (Unfortunately, I didn't think to take a photo at this stage.) 


But, I loved the fabric and I was determined to make it work. I carefully cut off the elastic at the waist (no way was I attempting to unpick the overlocking) leaving a seam allowance of about 3mm. Luckily there was plenty of length so I could afford to sacrifice a little when attaching the new elastic. I cut a new piece of elastic, this time 20mm wide and much stronger to hold the weight of the skirt, and overlocked it on. Much better result this time. Then I took in the side seams by 3cm at the base of the armhole and tapered to nothing at the waistline. This did the trick...a huge improvement to the fit. As you can see there is still plenty of fabric in the bodice.


So, despite my silly mistakes and fitting issues...I am quite happy with my new Style Arc Mia. It all turned out well in the end.

Happy Sewing.

Thursday 26 November 2015

Style Arc Marita Knit dress

I'm on a bit of a Style Arc roll at the moment and I have tried out another Style Arc dress...this time the Marita Knit Dress.


"This easy fit stylish cowl dress with interesting twist effect at the waist has a high back collar that hugs the neck and falls into a soft cowl at the front. The twist pleat at the waist makes this dress a fashion garment." from the Style Arc website.

Style Arc Marita Knit Dress

This has not turned out as well as I had hoped and it is entirely my own fault for not following the fabric suggestion on the envelope. This pattern is designed for a two way stretch jersey. 


I could see that it was a fairly clingy looking design and I thought it would be more flattering in a sturdier fabric so I used an Italian Printed Ponte purchased online from Knitwit. This particular print has been sold out. In hindsight I think this would have worked if I had used one size bigger than my usual size 12.


Even with the help of shape wear, I felt like a stuffed sausage in this dress. Oh, if only I had sized up :( Even the sleeves were skin tight on the forearms.


I couldn't get the front drape/cowl to lay properly. It kept moving and exposing the edge of the facing and required constant fiddling which was very annoying. Although it looks better in the photos than it did when I was wearing it and looking down at it. It would probably lay correctly if the suggested two way stretch jersey had been used.


I think I will try this pattern again in the suggested fabric. It is quite an intriguing design that comes together very quickly. The front twist effect is achieved with a long dart and a tuck...very simple but very clever too. Style Arc suggest that this dress could be sewn in under an hour. Well, it took me a little longer than that...but I am a slow sewer.


The busy print is being kind to me and camouflaging my lumps and bumps fairly well. I think this would have been totally unwearable if I had used a solid colour. Well, I have learned a lesson and will pay more attention to the fabric suggestions in future.

Happy Sewing. 

Sunday 22 November 2015

White Linen Shirt

After promising my dear husband that I would make him another handmade shirt months ago, I have finally delivered.


Last March, my ever patient husband took me on a fabric shopping trip during a visit to Sydney. I got to visit Tessuti at Surry Hills which was amazing...such beautiful fabrics. I could have spent hours there, but this was only a quick trip. I did manage to purchase a couple of pieces of lovely 100% linen and one of them has been made into this shirt.


I based this shirt on McCalls 6044 which I have made twice before here and here. You can find all the construction details and pattern alterations in these previous posts so I won't go over them in detail again here.


For this version, I only added one pocket at Greg's request. This simplified things as I didn't have to worry about matching the placement to the other side. Also, using a solid colour meant no pattern matching. This shirt was probably a lot easier to sew than my first two versions because of this and the fabric was a dream to press and sew.


I followed The Classic Tailored Shirt by Pam Howard on Craftsy, as I did with my previous shirts. This is a great resource and I can't recommend this class enough. I added a tower placket that is not included in the pattern using this tutorial. I love this detail on a man's shirt. Greg loves wearing his sleeves rolled up so I lengthened the tower placket to make it easier for him to roll up the sleeves.


I had all intentions of sewing button holes and buttons on this shirt, but I couldn't find any buttons I was happy with locally. Greg is a big fan of press studs and I had these "Snaps" from Snapsource in the stash. At first I didn't like the idea of using snaps on a linen shirt but after some convincing from Greg, the idea grew on me. These ones are called white marble and I think they go quite nicely with the casual rumpled vibe of the linen fabric.


There is something so satisfying in sewing a man's shirt. I love the neat finish that flat felled seams produce, both on the outside and the inside. I spent a couple of weeks sewing this shirt in short bursts in the evenings after work and I managed to get it finished just in time for his birthday. I gave it a wash to remove the pink pencil marks so it was presentable for the occasion, but to my horror the interfaced areas went all bubbly and crinkled looking. I thought it was ruined, but after getting over the initial disappointment I have decided it doesn't look too bad with the wrinkly nature of the linen and it is wearable. Greg didn't seem concerned about it.


I have learned my lesson though. No more cheap and nasty interfacing for me. I have explored Fashion Sewing Supply and their interfacing products online. Has any one else in Australia bought interfacing from this supplier? I would appreciate any feedback or any suggestions for a more local suppler of decent interfacing. It is so heart breaking to have all your hard work ruined by inferior products.


I couldn't get a smile out of him for these photos. We were out in our front garden and he was worried someone might see him. Oh the trials and tribulations of getting photos for the blog. He did love his new shirt though, and I get a lot of pleasure seeing him wear it.

Happy sewing.