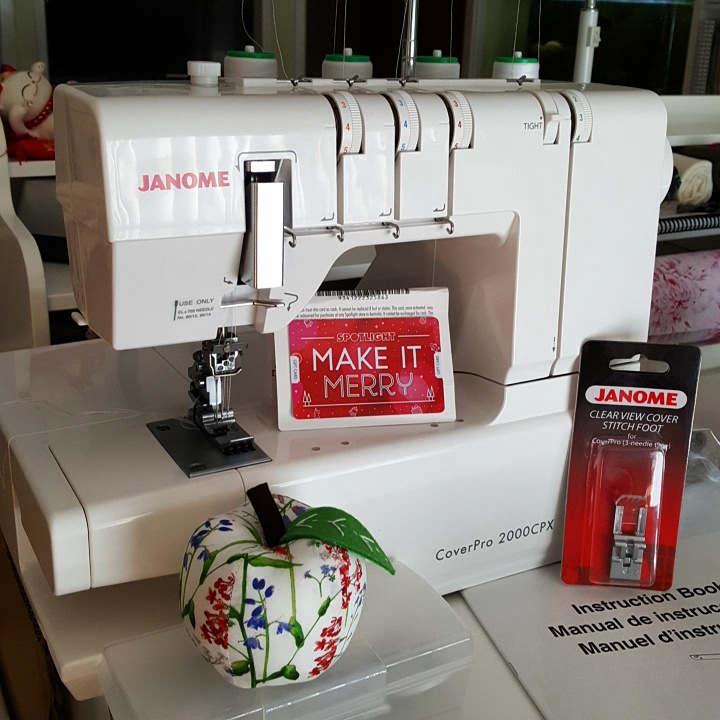
Christmas gifts I received recently included a Janome CoverPro 2000CPX cover stitch machine... something I had been dropping lots of hints about in the lead up to Christmas. I also received the clear view foot, as everyone on IG had suggested it was a necessary accessory. I did hubby's Christmas shopping for him and ordered it online from sewingmachines.com.au for the sale price of $849.00 with free delivery. This sale price is still current and goes up to $999.00 on 16th January, so if you are after one you had better get in quick. My daughter sent me this adorable Liberty pin cushion shaped like an apple along with a gift card for Spotlight. My son has ordered The Tunic Bible by Sarah Gunn and Julie Starr, which was out of stock, so I am looking forward to receiving it mid February. These were all very welcome additions to my sewing room.
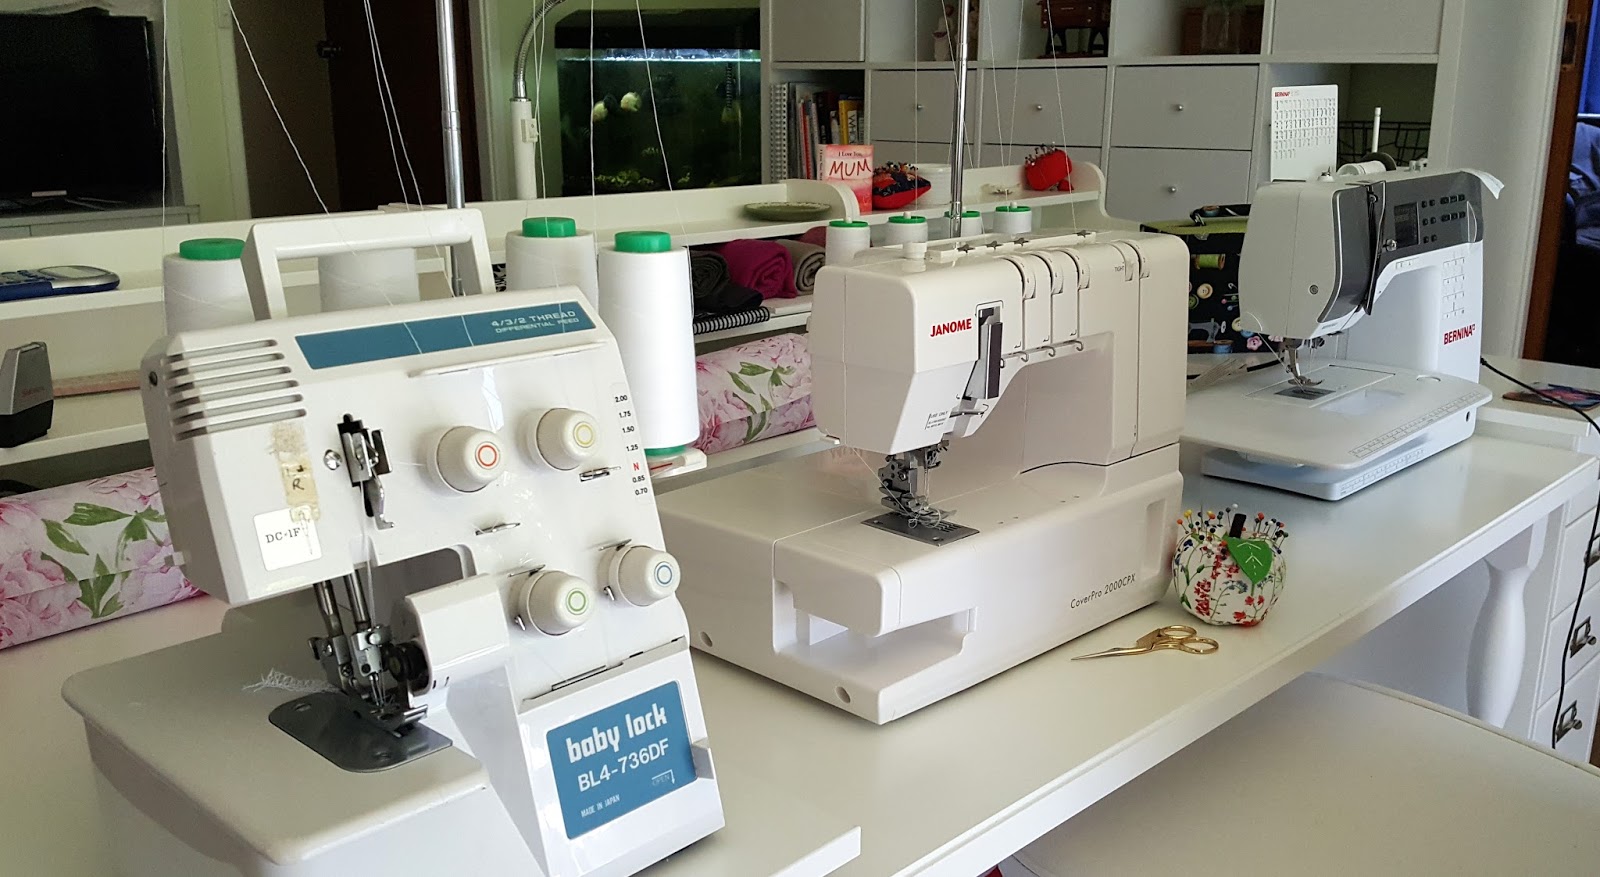
I squeezed the CoverPro in between my overlocker and my sewing machine on my sewing desk. I think this set up works ok, even if it is a little crowded. I just have to be careful to use the right foot pedal with the right machine.
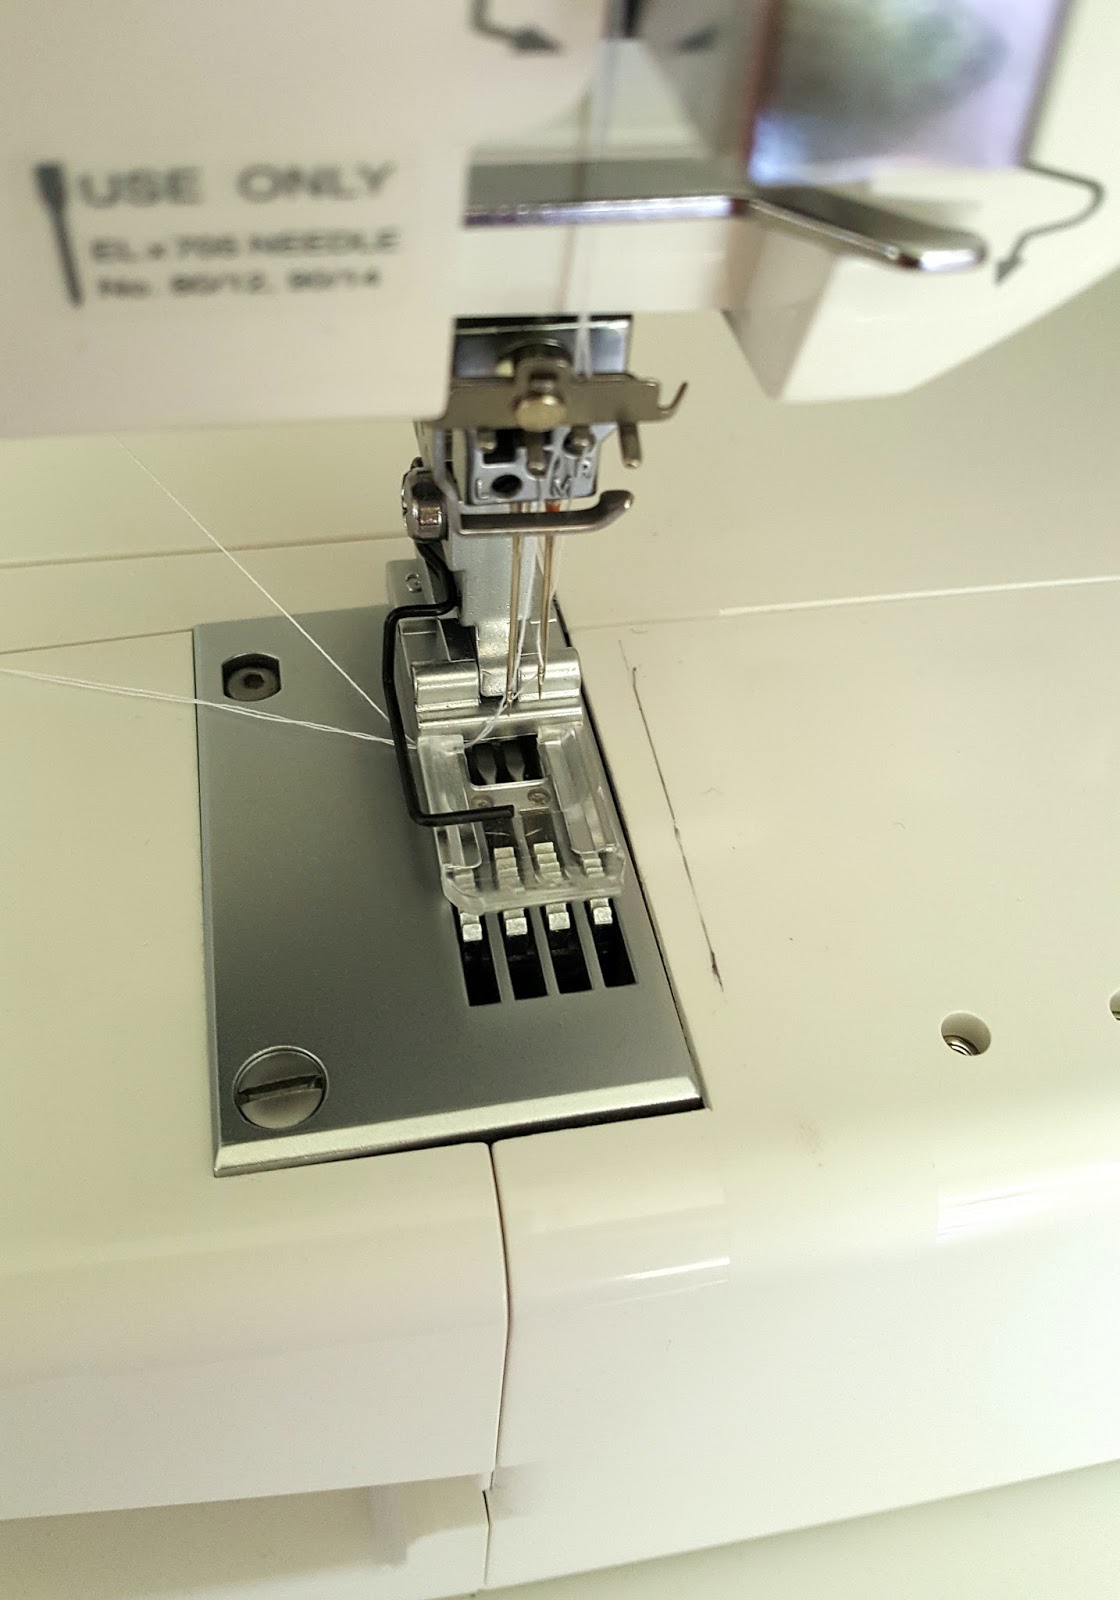
I'm so glad I got the clear view foot too. It makes it so much easier to line up the stitches when sewing in the round. I really knew very little about cover stitching so I searched for info on the internet and I discovered that Craftsy had a new course for beginners on sale, at the time, so I bought it straight away. I'm so glad I did, as it was very informative, explaining the basics as well as showing the more decorative ways of using the cover stitch.

I decided to sew a nice simple project for my first go at using the CoverPro. So a Maria Denmark Kirsten Kimono Tee fit the bill nicely. I have made this tee before and I have tweaked the pattern to improve the fit on me, by lengthening it and scooping out the neckline.

The fabric is a lovely 100% cotton jersey purchased from Spotlight. As it had no lycra or spandex component I used a scrap of white cotton/lycra for the neckline binding.

I used Bondaweb T10, an iron-on adhesive to secure the hems before cover stitching. I buy this from Knitwit. This resulted in nice even stitching with no tunnelling.

I did find it difficult to keep the stitching straight and wrap over the raw edge consistently. I found that it's better to sew slower rather than faster for the best result. I used a piece of tape as a hem guide which worked just fine. I'm not sure it would be worth the cost of purchasing the accessory specifically for this purpose. I did a pretty rough job of cover stitching the seam allowance of the neckline binding down, completely missing the raw edge in places. It looks ok from the outside so I left it as it is, vowing to improve that on the next one.

I was keen to try again, so I dug this red striped cotton jersey out of the stash. This is another Spotlight purchase from a few years ago, but it was printed terribly off grain. I thought I could make it work in this simple tee, so I cut it out, ignoring the grain and focusing on matching the stripes.

This stripe matching business adds so much time to what should have been a very quick sew. I meticulously pinned every stripe and sewed the side seams on my sewing machine, later finishing the seams on the overlocker once the stripes were matched.
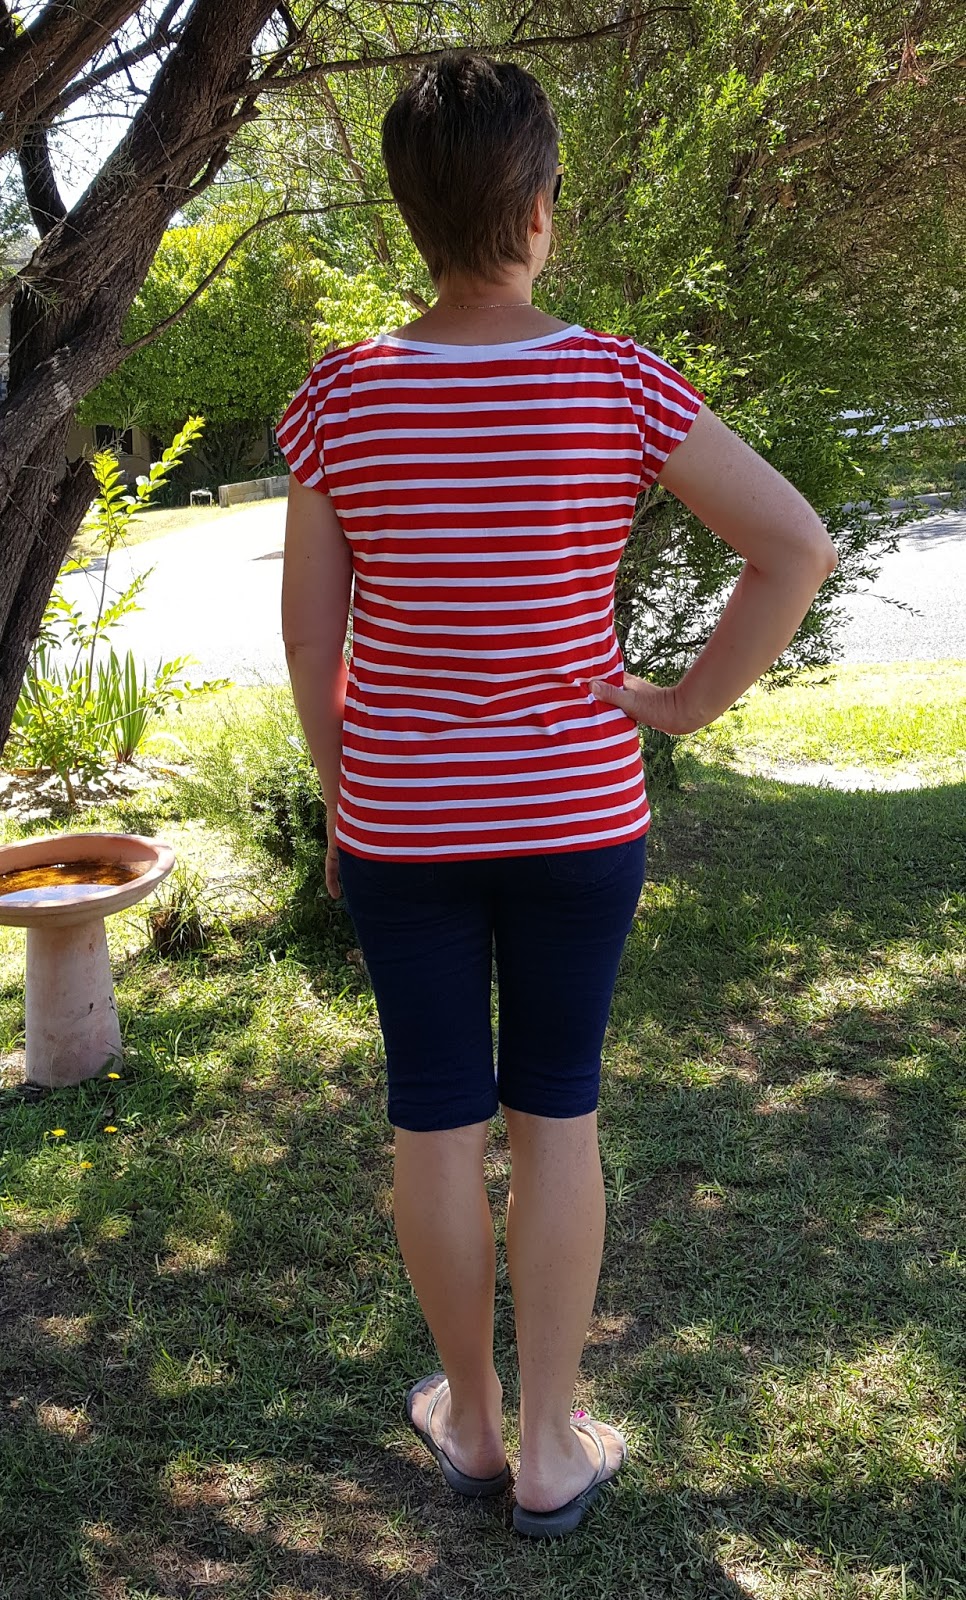
Both pairs of shorts worn with these tees are RTW, purchased from Rockmans in the 50% off sales leading up to Christmas. These are the first RTW garments I have bought in ages but I could not have sewn these myself for less than what I paid for them.

The sleeve hems were cover stitched before the side seams were sewn.

Knowing the difficulty I had with cover stitching the neckline on the first tee, I took particular care with this one, achieving a much better result.
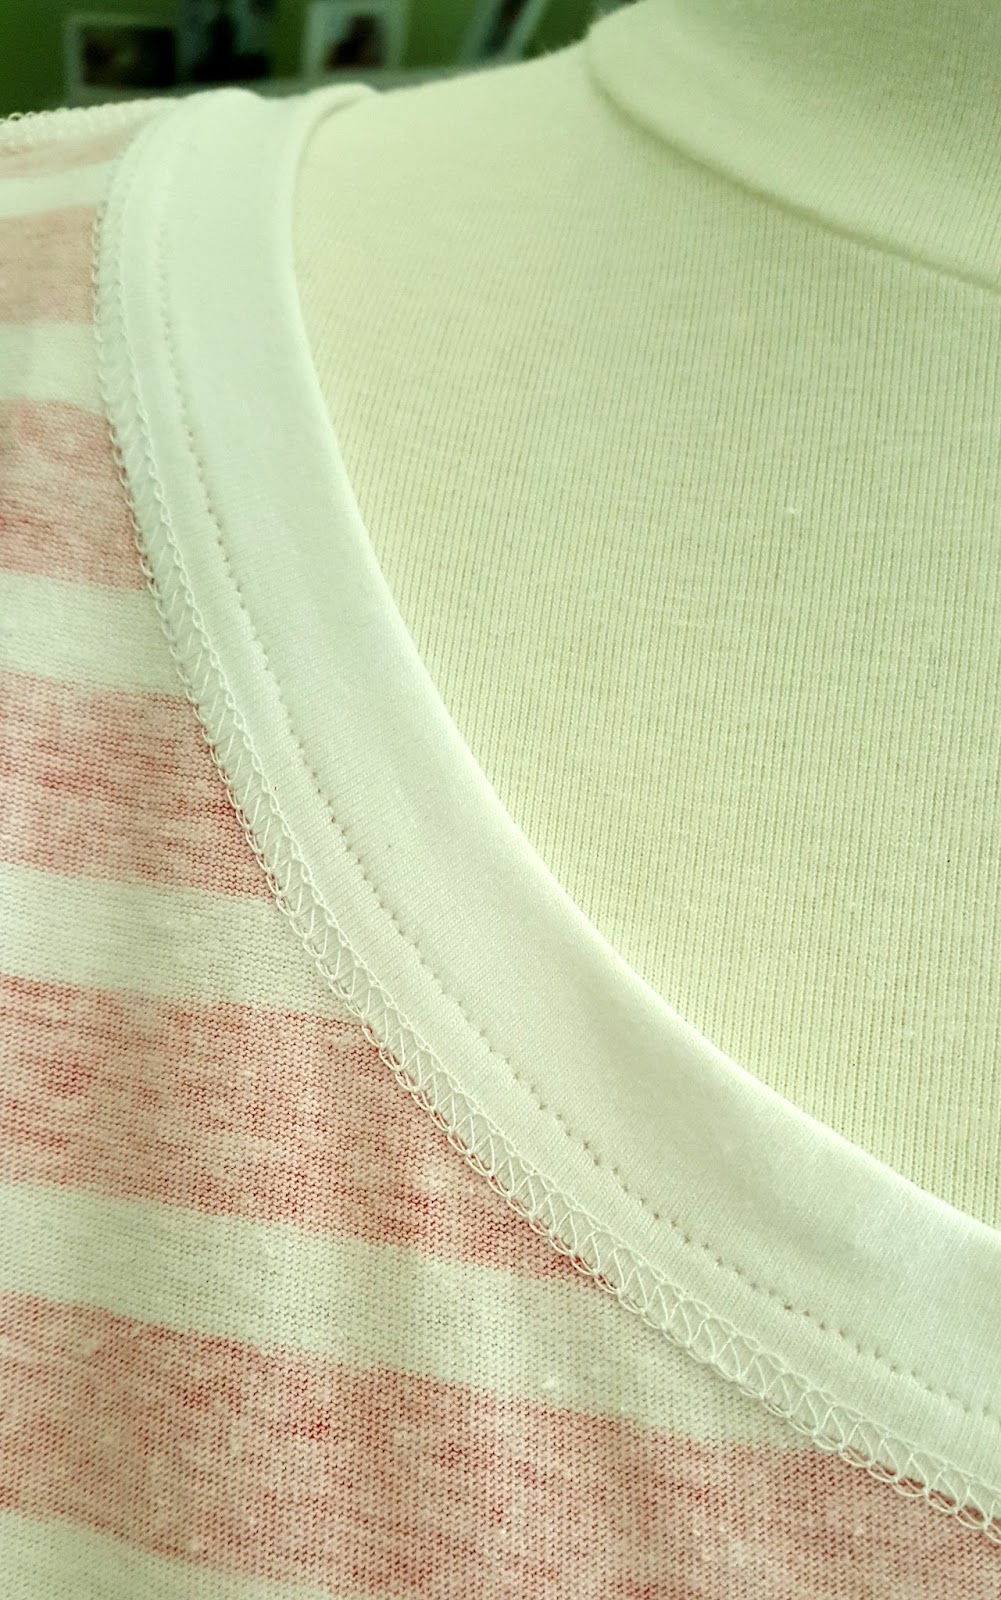
I can see that my skills will improve with practice. I am so glad that I watched the Craftsy course before I started practicing as I didn't have any significant issues at all with that new found knowledge fresh in my mind.

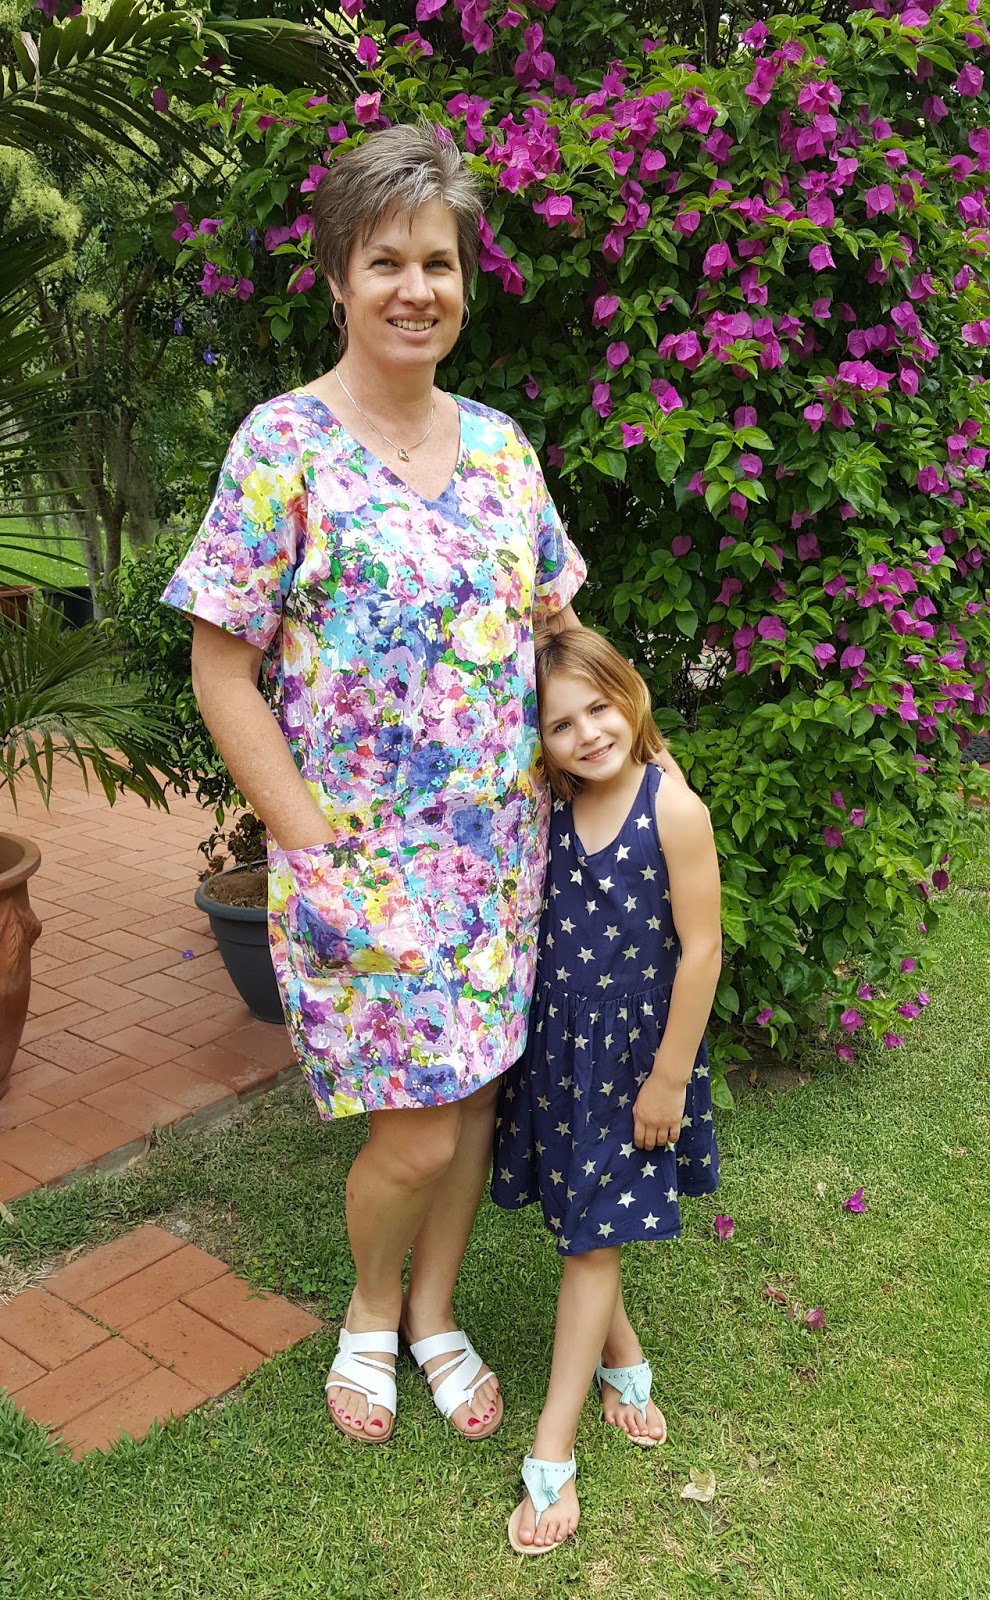
I have had a lovely two and a bit weeks off work for the holidays. I managed to sew two dresses and two tees, participate in Christmas and New Year festivities, enjoy family visiting and do some gardening. Well, all good things come to an end and it's back to work on Monday.
Jean